
After my long journey making my final Ultimate Cherry MX Version of my Hex Keypad, and in fact being very happy with the results I’d achieved, I was still contemplating any options for achieving an even smoother 3D Printed MX Keycap finish!
This included considering other more exotic filament types, that might achieve an even smoother finish, to be even closer to what you might expect from an injection molded keycap.
However, in the end I discovered something simpler, that actually worked quite well!
I took an existing set of printed keycaps and annealed them for 6 hours at 60º Celsius.
Note that this annealing time and temperature is being applied to my Keycaps printed using eSun PLA+ filament.
As expected, this annealing process affected the keycap dimensions.
It resulted in shrinking the keycap’s horizontal dimensions by about 3%, and also increasing the keycap height by about 3%.
But, in addition, it resulted in an even smoother keycap side, with any previous visibility of the 3D printed layers further reduced. It also seemed to further improve the uniformity of the 3D printed keycap’s colored legends.
A further positive, as a result of the dimension change, is that the keycaps were an even tighter fit on the Cherry MX keyswitches.
Although the keycap fit to the MX keyswitches was perfectly fine originally, it proved useful for a set of keycaps that I had fitted and removed quite a number of times during testing. Although these were not overly “loose”, the annealing made them a robustly tight fit, once again.
I suspect the annealing process is working particularly well with my MX keycap design, simply because of the keycap’s shape / profile.
It’s important to note that because of the resulting dimensional changes, annealing isn’t necessarily a good option for a lot of 3D printed model designs, but due to the small size and the consistent shape of a keycap (and perhaps also the angled sides), annealing seems to work particularly well with them.
I don’t expect I’ll be annealing every set of keycaps that I print, but it is certainly a good option to discover, and have available.
It’s also useful to know (and why I’m also sharing it here), in the case where someone has an issue with keycaps becoming less snug in their fit, following repeated removal (perhaps if regularly changing your keycap color choice?).
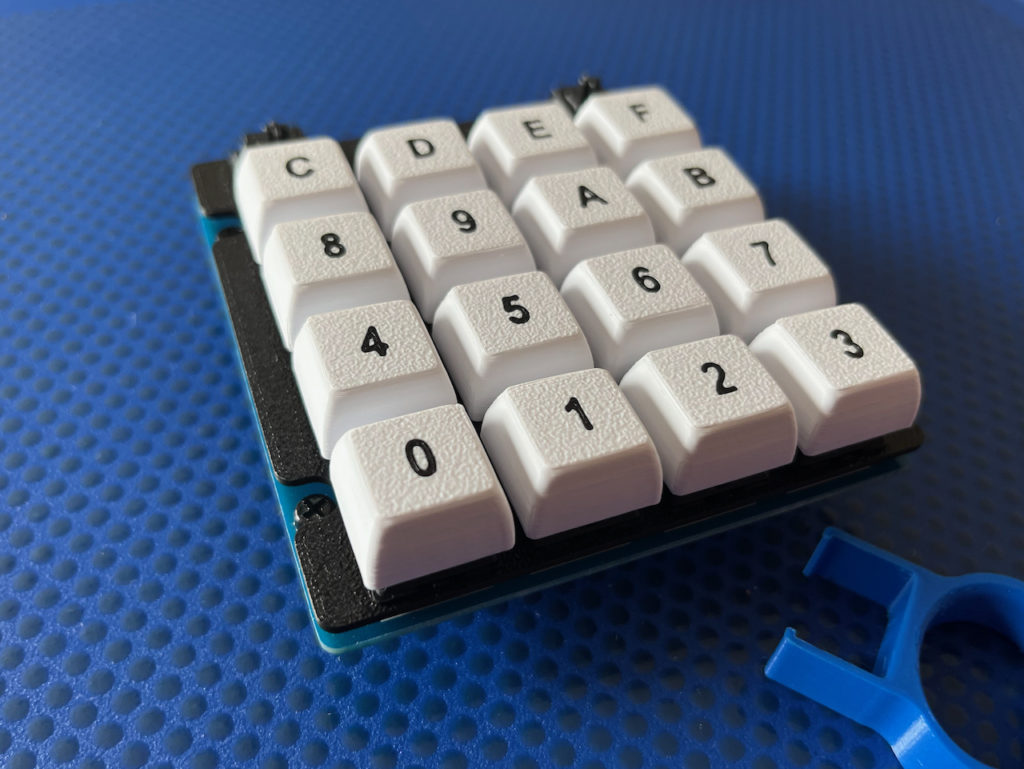
The photo below is of a Hex Keypad with the annealed keycaps fitted. However, it is very difficult to try to capture the comparative results of the annealing, with a camera!
It is very much something you can only really compare first-hand, with close inspection of the annealed versus non-annealed 3D printed results!
Note also, the textured finish to the Keycap’s top surface (surrounding the embedded legend symbols), is the result of my textured PEI print plate, as I really like the textured finish it creates.
I hope this short post proves interesting and useful, in your own 3D printing journey.