Although this post is not in-line with my normal Maker / Electronics / Retro Computing blog topics, it is related to the flooding which destroyed my Workspace approximately 12 months ago. That was at the end of January 2023, when I also posted a video covering the impact it had.
You see, I now work from a new Workspace, which was previously an upstairs bedroom. This was originally intended to be a temporary Workspace, but in the year that it has taken to get the Insurance cover resolved to make repairs, I’ve since become comfortable working in the smaller space.
With the flooding Insurance claim now finally resolved, we have (only now), just had carpet laid downstairs, to once again allow making use of the downstairs space.
My old (original) workroom is now full of shelving, as it’s now being used as a storage room.
Our rumpus room was a blank slate.
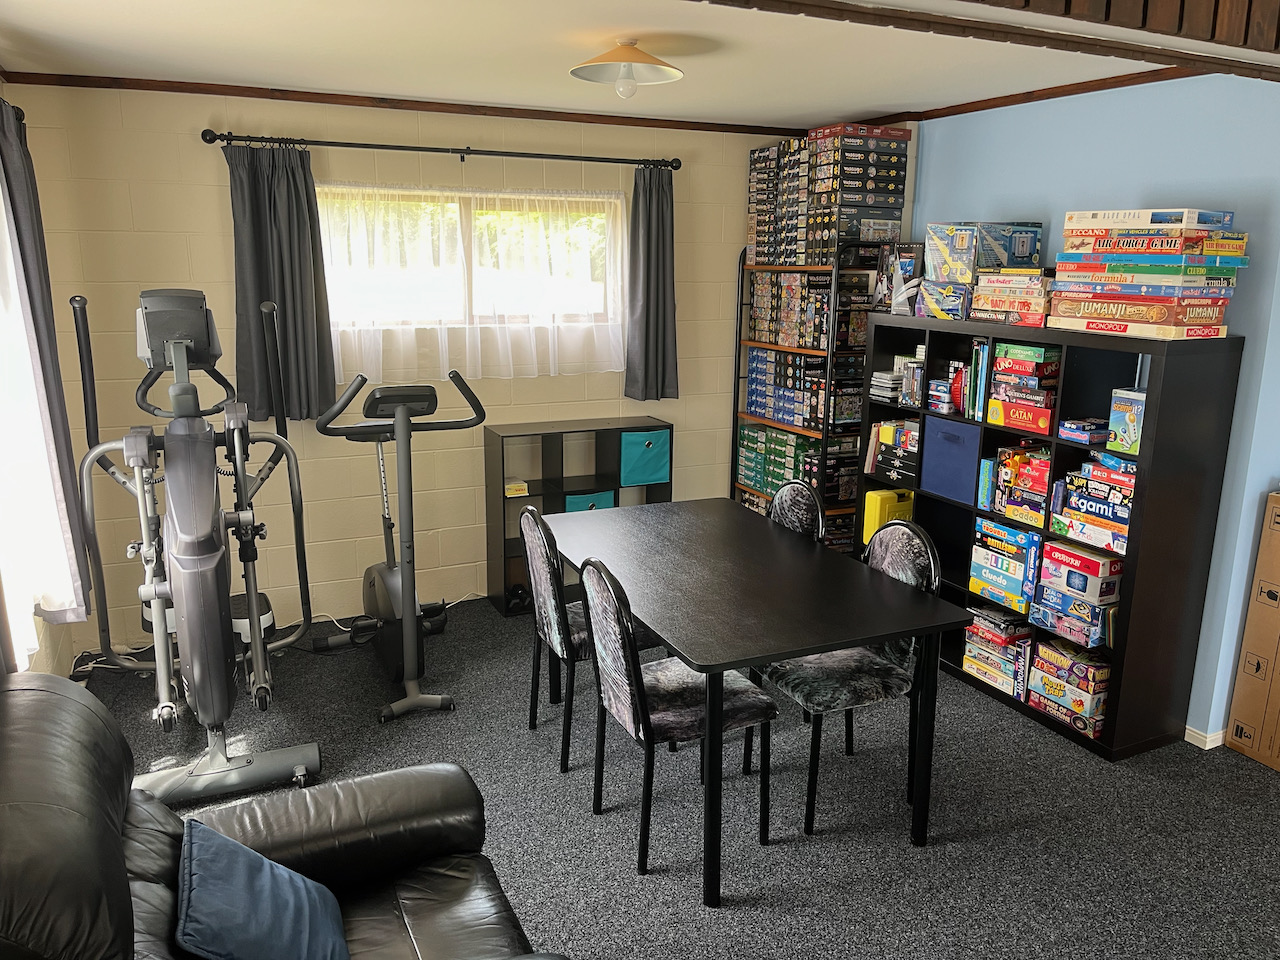
So, we turned one area of the room into a combined Home Gym, and a Table-top Gaming area.
Before you say… What about Console and Retro Computer gaming? Our plan is that most of the rest of the room (which is quite large), will be dedicated to various consoles and retro computers. Everything from Sega and PS1, through to Commodore 64 and some more modern Retro Computing systems.
Anyway, back to the topic at-hand.
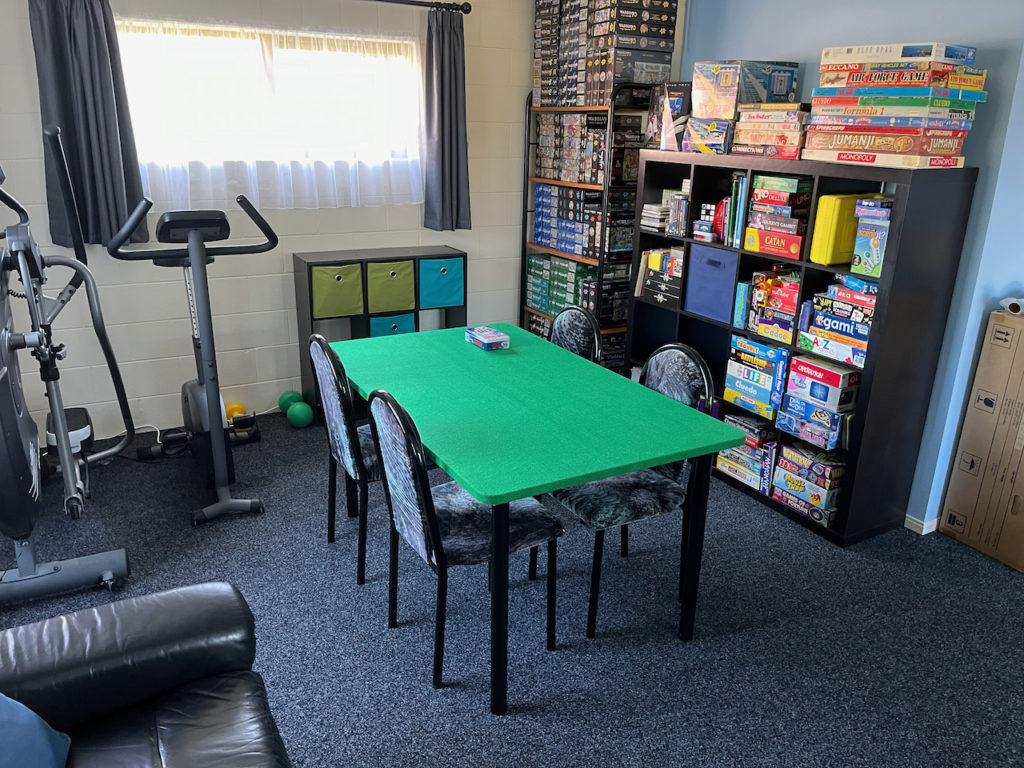
We setup our Home Gym equipment in one corner, and then put all of our various board games etc. on a large Ikea cube shelf, and also lots of Wasgij jigsaws on a regular Ikea shelf (she likes her jigsaws!). We also had an unused dining table, which we setup in the middle of the space, to allow for some sit-down gaming.
But, as one daughter pointed out… “it needs a green games table cover”. And.. of course, great minds think alike!
I had previously made some portable, square, 4 person, felt covered gaming tables, so I just happened to have a length of green felt in the storage room.
The dining table is 1500mm x 900mm, so it is the perfect size for 6 person table-top gaming (or even for a big Jigsaw!), and the felt that I had was just the right width.
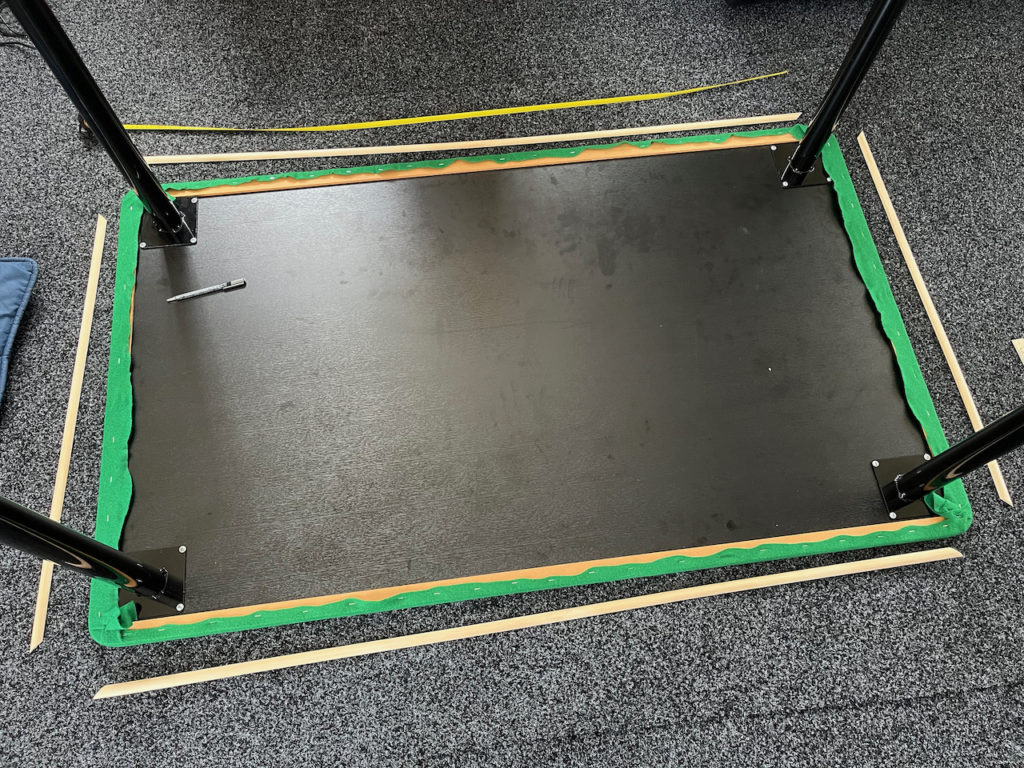
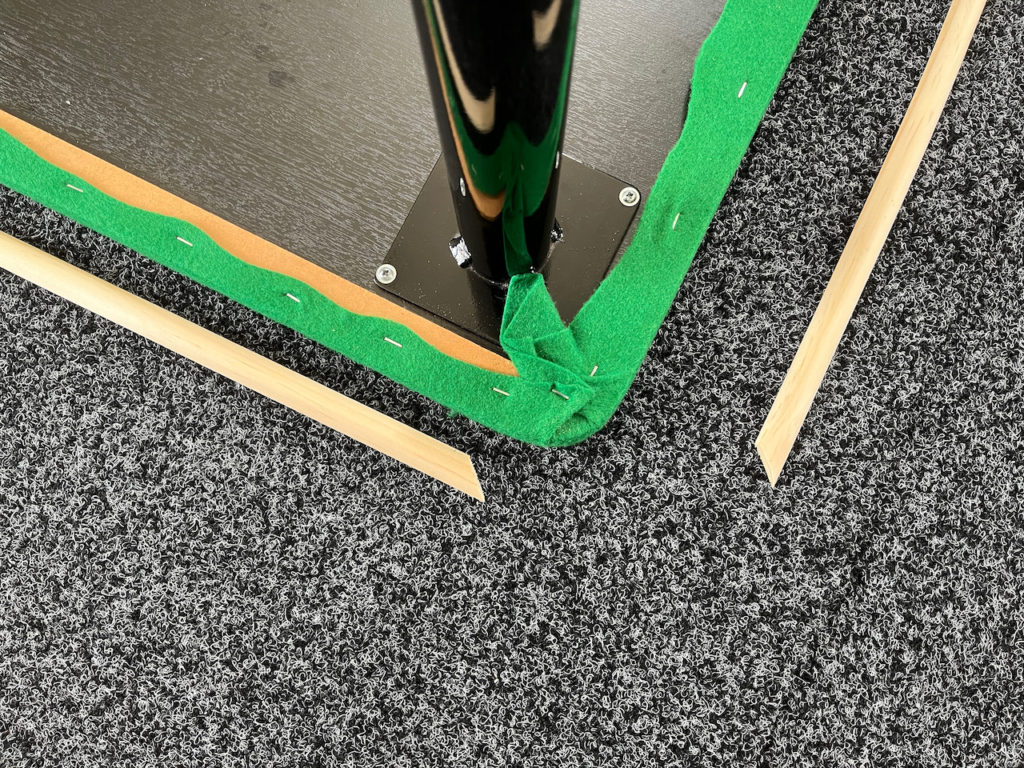
So, I cut the felt to the appropriate length, and then I got busy carefully stretching the felt over the table edge, and staple-affixing it to the underside.
This worked out really well. But, I wanted a better finish to the underside (even though you don’t really see it). I also wanted to make the stapled felt attachment more robust.
After a quick look at what was available from my local Bunnings hardware store, I found some 2.4m lengths of “half-round” pine trim. Funny that they call these “half-round”, as they are not really half-round at all!
Anyway, these were only around NZ$5 each for the 18mm width. So, 2 lengths of these, together with some appropriate 8mm countersunk self-tapping wood screws, gave a total cost for this project of under NZ$15.
Next, I fired up Fusion 360, for probably the simplest design diagram I’ve ever drawn.
As the table-top has rounded corners, I envisioned making 22.5 degree mitre-cuts for adding some angled corner pieces.
So, I drew a rectangle for the desktop, and created an internal 7mm offset construction line for the edge of the half-round, with 45 degree construction lines inset 20mm at each of the corners.
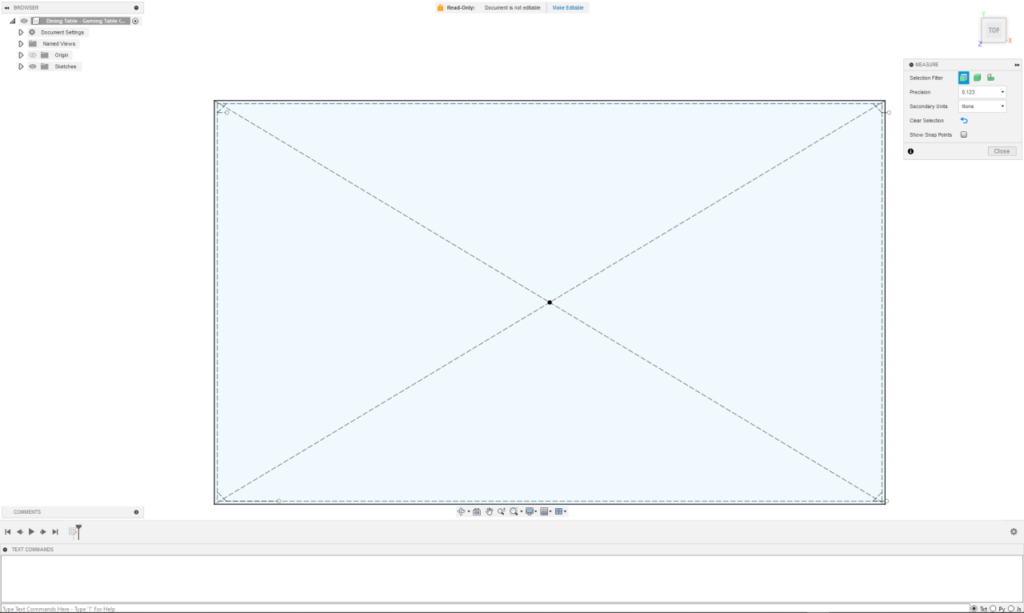
This enabled me to then easily measure the lengths of pine trim, that I needed to cut.
The only problem I then had, is that my handsaw mitre-box only has slots for 90 and 45 degree cuts!
So, instead of my planned optimal 22.5 degree mitre joint cuts, I was forced to just cut the edge strips at a 45 degree angle. This means that the corner pieces will now be just normal 90 degree cuts, and won’t match up with the edge piece’s 45 degree mitre cuts.
But, being on the unseen underneath of the table, it’ll do!
See, I’m practising being an “Optimalist”, instead sticking to my usual Perfectionist tendency!
So, with the four side lengths of pine-trim mitre-cut to length, I was ready to attach them.
Ideally, I should first paint them black (or at least seal them with some clear lacquer), but I did say this was a “Quick Gaming Table Conversion”. 🙂
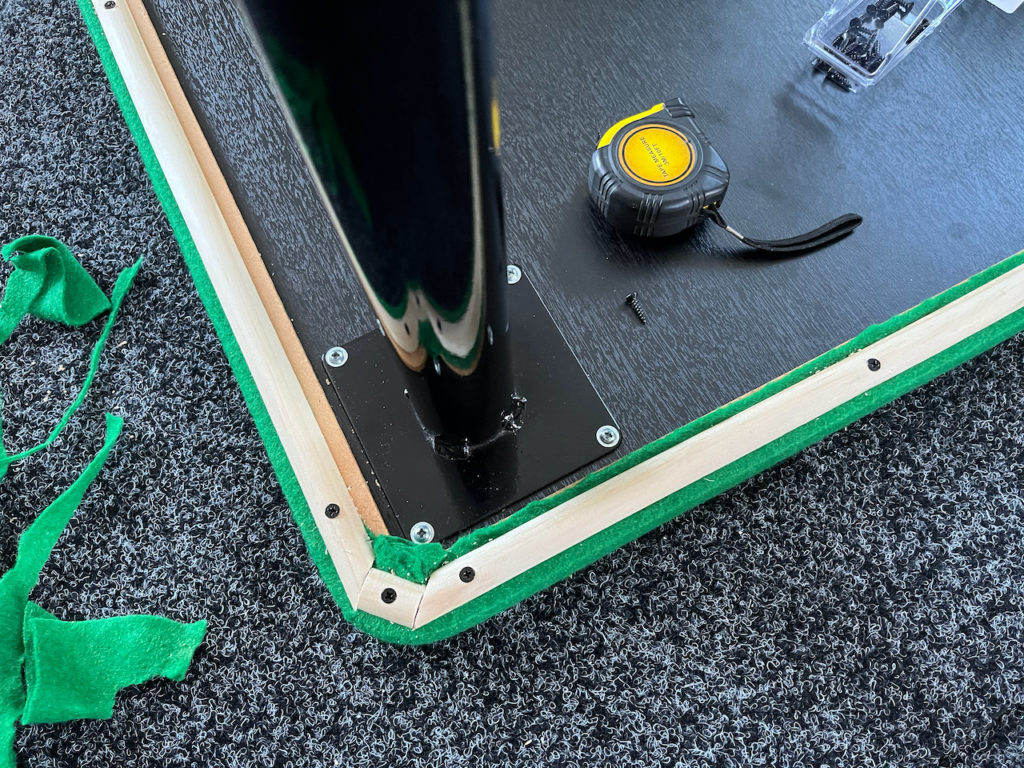
Next, I used a pilot drill, and a countersink bit, to attach the side strips over the stapled felt, using the 8mm countersunk head self-tapping screws.
Then, I needed to cut four 25mm long half-rounds, to complete the angled corners.
With these corner pieces similarly fitted, and the excess felt trimmed-off, the job was complete, creating a relatively professional looking finish for a “Quick Gaming Table Conversion” (if I do say so myself!).
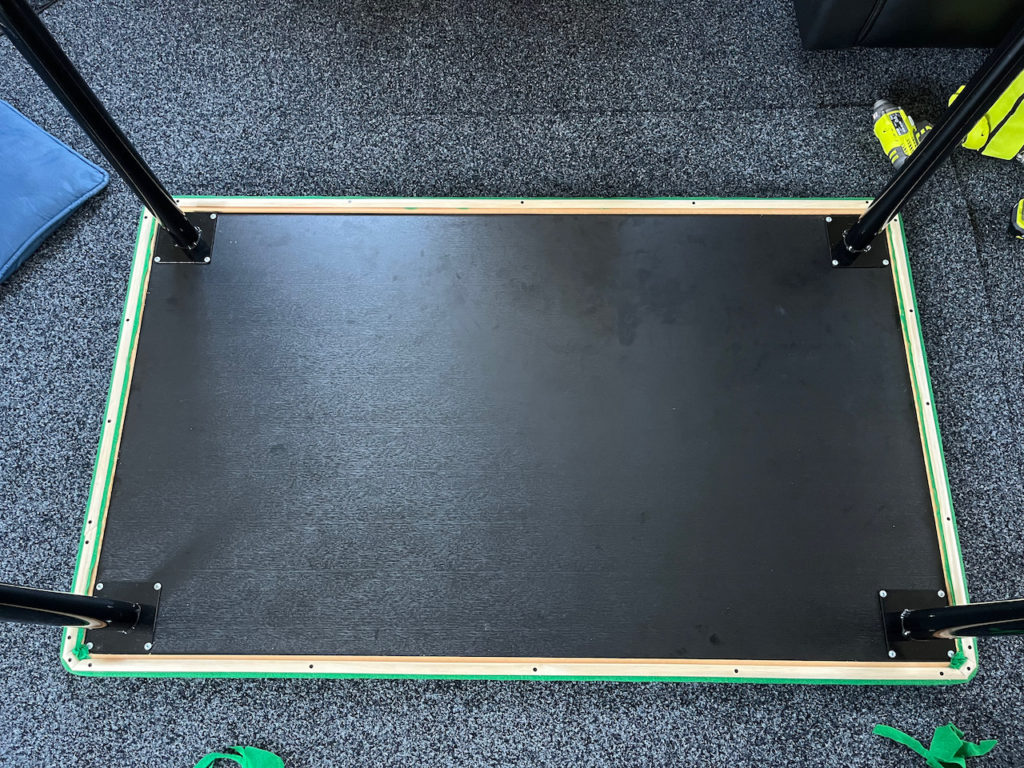
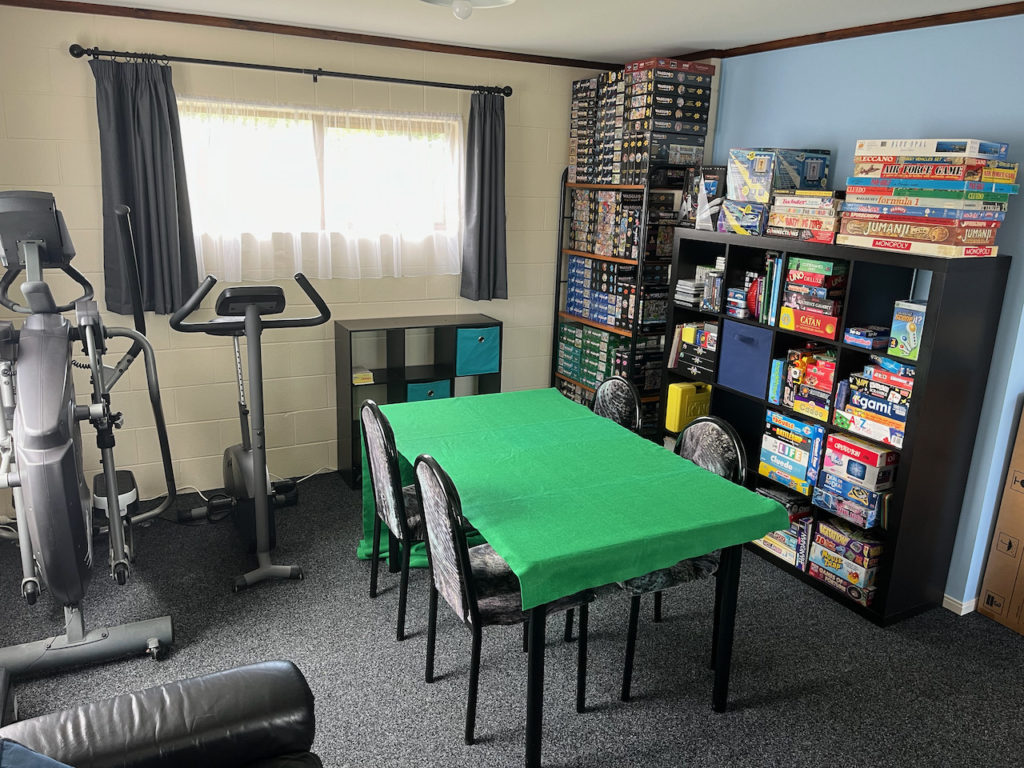
So, turning the table back to the upright position, I must say I was really please with the outcome.
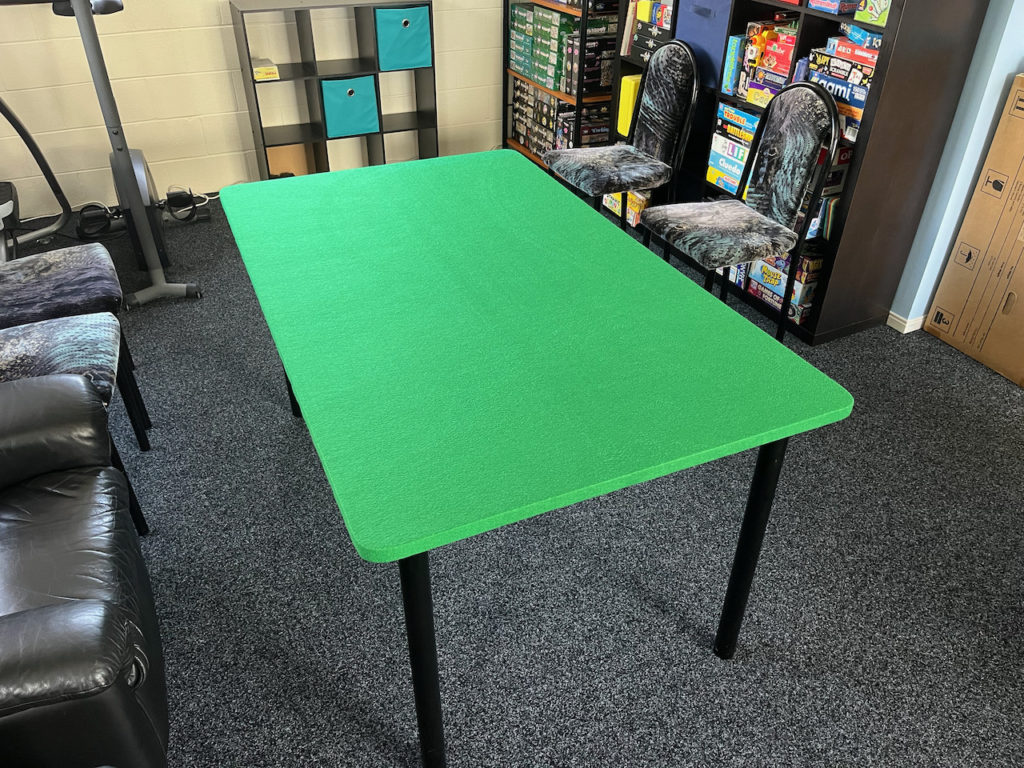
So, we now have a gaming corner, with a “homebrew” felt-covered gaming table, and plenty of games, all ready for the next gaming evening!
In addition, if we ever want to, it’ll be easy enough to take-off the added felt, and return to the original dining room table.