
Like many, I have a number of projects that have previously stalled, for various reasons.
One of those previously stalled projects is my Hexadecimal Keypad journey.
This project was initiated when I dug out of storage, my first “video” computer that I’d built way back around 1979.
It was the DREAM 6800 computer, which was designed by Michael Bauer, and was published in Electronics Australia magazine in 1979.
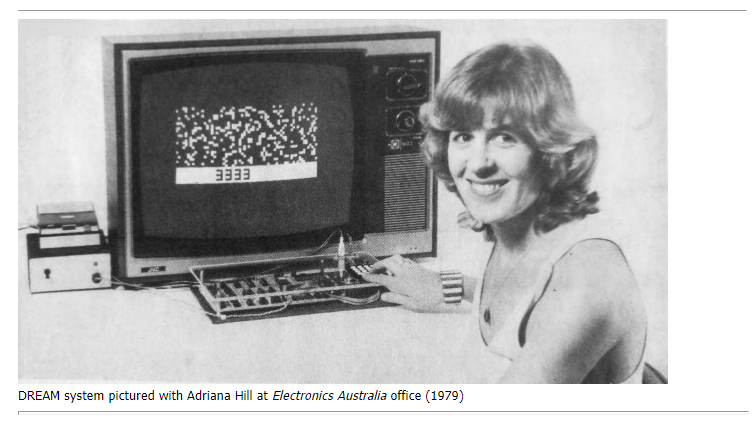
The DREAM 6800 was a Motorola 6800 based computer board, featuring 1KB of ROM, 1KB or RAM, and a 64×32 pixel B/W video display output, which was created with discrete 7400 series TTL and 4000 series CMOS IC’s.
The DREAM 6800’s 1K ROM was loaded with CHIPOS, which provided the CHIP-8 programming language.
CHIP-8 was originally featured on the RCA COSMAC VIP computer board that was available at the time.
The RCA COSMAC VIP was based on the RCA 1802 microprocessor.

The DREAM 6800 was controlled with a Hexadecimal Keypad, which was a quite common input device with early low cost single board microcomputers in the late 70’s.
But most of the self contained microprocessor boards around this time typically used 7-segment displays for their output, instead of a graphical video interface.
I still have my original Hex Keypad which I used with the DREAM 6800.

As you can see, this was quite a nice mechanical keyswitch mechanism based keypad, designed specifically for Hexadecimal use, with its 0 – 9 and A – F keycap legends.
My Hex Keypad got a lot of use, and I do recall it being quite comfortable using it for long periods, keying in the many bytes required, when manually loading or developing a program in these early days.
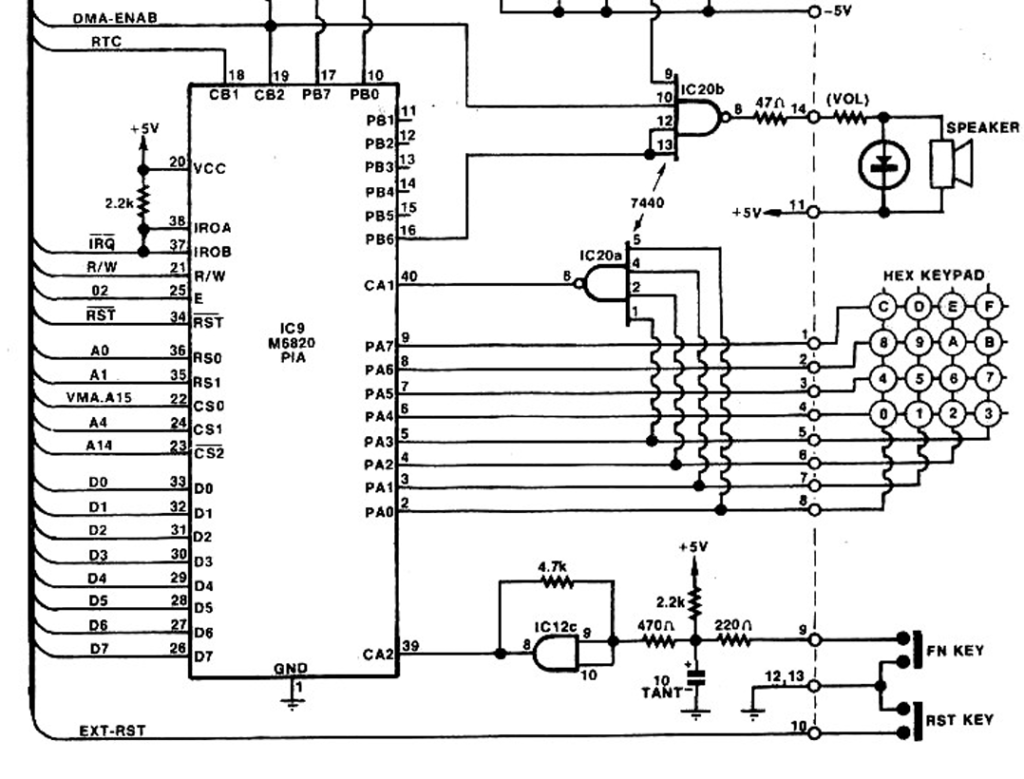
Note that Hex Keypads of the day were typically wired in a 4×4 matrix, for the 16 Hexadecimal keys, usually also with one or two additional control keys.
The 4×4 matrix of keys was typically interfaced via an 8 bit I/O port.
In the DREAM 6800 case this was Port A of a MC6821 PIA chip.
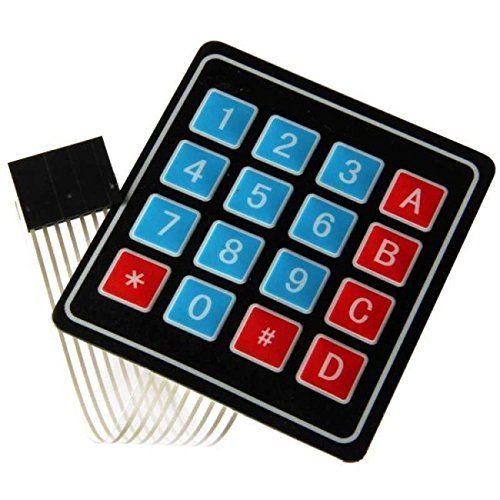
When I did a search online, I found that Hexadecimal Keypads are now almost impossible to buy.
That is, real mechanical hexadecimal keypads!
There are cheap “membrane switch” keypads available, but that’s not something I’d enjoy using.
So, this got me on the path of designing my own Hex Keypad, intended for use in some early retro-computing projects.
First, I designed a budget Hexadecimal matrix Keypad, using 12x12mm Tactile push button switches, on a PCB with the keycap legends silk-screened alongside each push button switch.
I then went on to design my Ultimate Hexadecimal Keypad version, based on Cherry MX key switches (of course!).
But, finalising the best way to implement the required MX Keycaps, in a way that would satisfy my vision of the “Ultimate Hex Keypad”, is where this project originally stalled. Until now!
But first, please join me on Part 1 of my Hexadecimal Keypad journey by viewing the video below, where I assemble the first prototype of my initial Tactile Switch based budget Hex Keypad.
If you’d like a Hexadecimal KeyPad for your own retro computing projects, you’ll find the Kitset on my Tindie store: https://www.tindie.com/stores/DigicoolThings